PUNCTURE PROOF FITTING INSTRUCTIONS
Fitting puncture proof tyres to 1-piece wheels is a very straightforward process, providing you have the right equipment. You will need access to a hydraulic press, the correct fitting cone and some lubrication, like tyre bead paste and a spare puncture proof tyre.
-
1Place the spare puncture proof tyre on the base of the press. (This provides space for the fitting cone once the tyre has been fitted).
-
2Now place the tyre being fitted on top of the spare tyre.
-
3Take the relevant size fitting cone, lubricating thoroughly before placing the smaller end of the taper into the central hole of the tyre.
-
4Finally, put the wheel on the top of the cone.
-
5Ensure that everything is centred and level before proceeding.
-
6Keeping a close eye on progress, proceed by bringing steady downward pressure onto the hub of the wheel.
-
7Once the cone has passed through the tyre and the wheel snaps into place, release the pressure of the press. Check that the tyre is seated on both sides of the wheel.
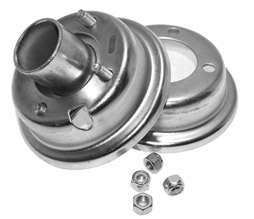
Replacement Wheels
A wide range of 4", 5" & 6" wheels, with varying hub lengths, bore sizes and offsets are availablefrom stock. Please enquire.
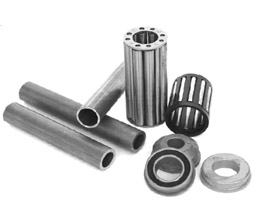
Replacement Bearings, Sleeves and Bushes
Flange bearings and needle-roller bearings, reducing sleeves and bushes can be supplied on request.

Fitting Cones
When fitting puncture proof tyres to 1-piece wheels, you will need to purchase the relevant size fitting cone. These are readily available.

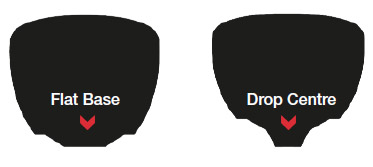
Useful Wheel Information
It is important that you know the hub length and are clear as to the type of wheel that you require. Many options are obtainable.